


This article is part of a two part series on how to configure a React app from scratch with Webpack and Babel and eventually add TypeScript to it. To read the first article in this series, click on the below link.
So you stumbled upon TypeScript and loved how you will be able to add type safety along with a whole bunch of other things that it has to offer. So, let's modify last week's app and add TypeScript to it. In case you haven't read last week's article on how to setup a react app with webpack and babel, feel free to go through the below link and setup a basic react app to which we can add TypeScript.
To get the starter code click on this below link.
Link to the GitHub repo: react-with-webpack
Let's start with the required steps now.
Install the following packages typescript, @types/react and @types/react-dom using the following command.
You can also replace the --save-dev with a more subtle -D to install any package as a dev dependency.
npm install typescript npm install @types/react @types/react-dom --save-devWe will need to let Babel know that we are including typescript in the project. So, let's go ahead and install the package @babel/preset-typescript as a dev dependency.
npm install @babel/preset-typescript --save-devNow we have a mean to let Babel know of the typescript files that we will be using. But we still need to load these files with webpack, right? For that we need another package named as ts-loader.
npm install -D ts-loaderYour package.json file should look something like this.
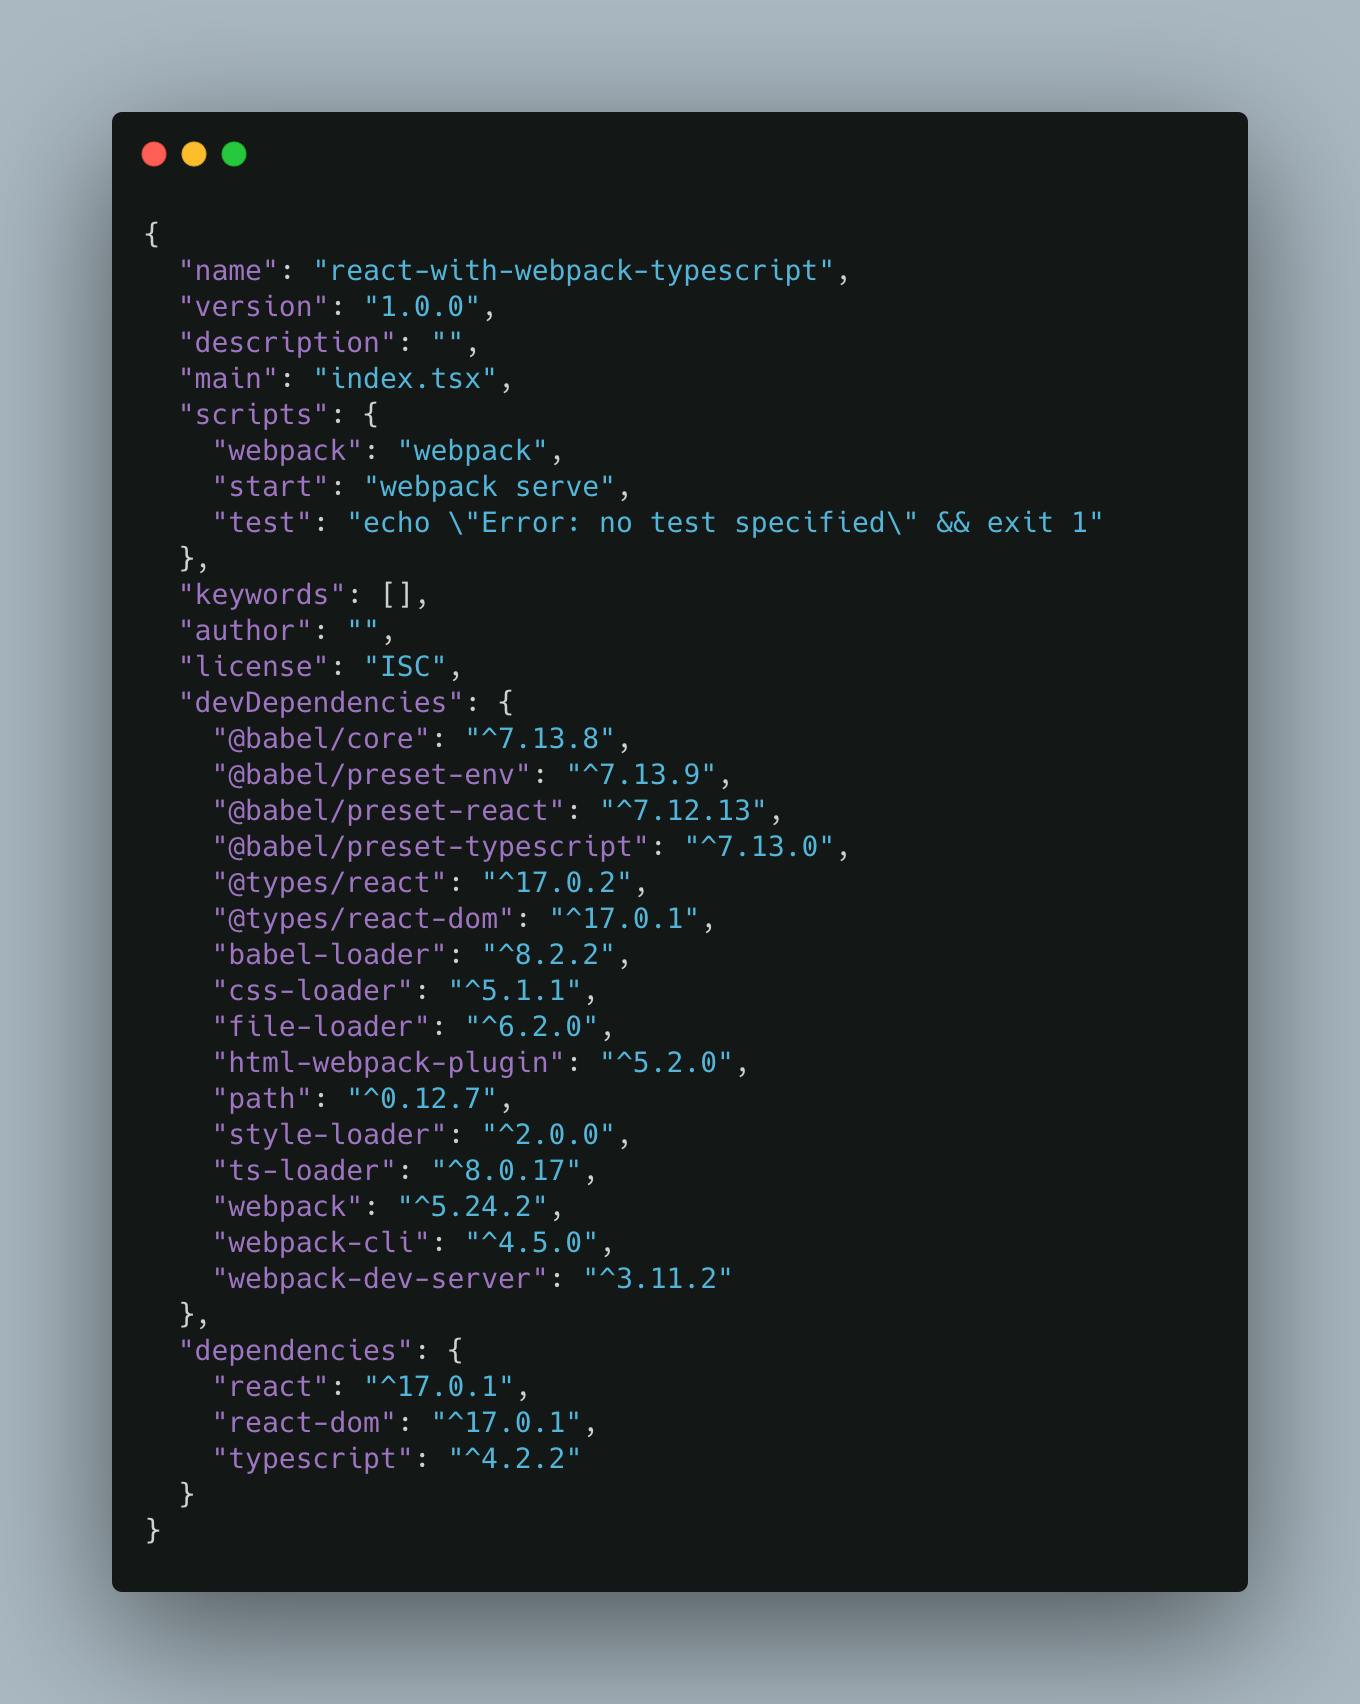
We have all the required packages now. It's time to make some changes in our webpack.config.js and .babelrc file.
Replace the below code with the one present in your .babelrc file.
 {
     "presets": [
         "@babel/env",
         "@babel/react",
         "@babel/preset-typescript"
     ],
     "plugins": [
         "@babel/plugin-proposal-class-properties"
     ]
 }
As you can see, we are adding a new preset which is the @babel/preset-typescript to our already existing set of presets.
Time to make changes to our webpack.config.js file now. Copy the below code and replace the existing code which is present in the file.
 const path = require("path");
 const HtmlWebpackPlugin = require("html-webpack-plugin");

 module.exports = {
     entry: "./src/index.tsx",
     output: { path: path.join(__dirname, "build"), filename: "index.bundle.js" },
     mode: process.env.NODE_ENV || "development",
     resolve: {
         extensions: [".tsx", ".ts", ".js"],
     },
     devServer: { contentBase: path.join(__dirname, "src") },
     module: {
         rules: [
             {
                 test: /\.(js|jsx)$/,
                 exclude: /node_modules/,
                 use: ["babel-loader"],
             },
             {
                 test: /\.(ts|tsx)$/,
                 exclude: /node_modules/,
                 use: ["ts-loader"],
             },
             {
                 test: /\.(css|scss)$/,
                 use: ["style-loader", "css-loader"],
             },
             {
                 test: /\.(jpg|jpeg|png|gif|mp3|svg)$/,
                 use: ["file-loader"],
             },
         ],
     },
     plugins: [
         new HtmlWebpackPlugin({
             template: path.join(__dirname, "src", "index.html"),
         }),
     ],
 };
Time to use TypeScript. But wait, we need something to specify that this directory is a TypeScript project, right! We also need to provide the compiler options in which our TypeScript files will be compiled. For that we will need a new file named as tsconfig.json.
Let's go ahead and create that file.
touch tsconfig.jsonFor now, remove the existing code from the tsconfig.json file and replace it with the below code.
 {
     "compilerOptions": {
         "target": "es5",
         "lib": [
             "dom",
             "dom.iterable",
             "esnext"
         ],
         "allowJs": true,
         "skipLibCheck": true,
         "esModuleInterop": true,
         "allowSyntheticDefaultImports": true,
         "strict": true,
         "forceConsistentCasingInFileNames": true,
         "noFallthroughCasesInSwitch": true,
         "module": "esnext",
         "moduleResolution": "node",
         "resolveJsonModule": true,
         "isolatedModules": true,
         "noEmit": false,
         "jsx": "react-jsx"
     },
     "include": [
         "src"
     ]
 }
Let's go over the attributes now.
"target": "es5" => will compile es6 or above code to es5 so that it is compatible with browsers.
"include": [src]" => specifies that only the files in the src folder should be included.
"sourceMap": true => Generates corresponding ‘.map’ file so that it can be used in the production code for debugging.
"strict": true => enables a wide range of type checking behavior that results in stronger guarantees of program correctness.
"allowJs": true => allows JavaScript files to be imported inside your project, instead of just .ts and .tsx files.
To learn more about the various attributes used in the file visit this link.
Last but not the least, its time to rename our JavaScript files (.js) to TypeScript - React (.tsx).
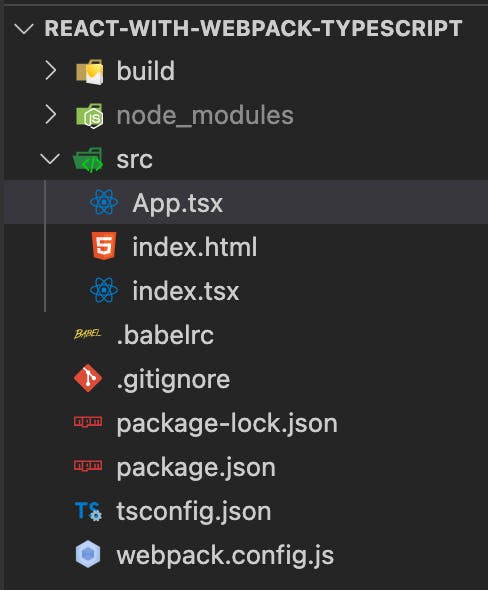
renamed index.js & App.js to index.tsx & App.tsx respectively
Go ahead and run the below command to start the app.
npm run startThe app will be served at localhost:8080.
Well, you have successfully added TypeScript to your project. Go ahead and make use of its functionalities to build great webapps.
Have a great day. Thanks for reading the entire thing.
Here's the link to the Github Repo in case you have faced some issue during the entire process. Feel free to make some tweaks if you find something breaking because of updates to any of the packages.
Cover Photo by Cristina G d